In 2022, Microsoft added the Universal Print policy CSP to the Intune settings catalog. This replaced the Universal Print Printer Provisioning Tool and brought about a significant time saving when configuring Universal Print deployment policies.
When the Intune policy is sync’d with a device and a user logs in, the upprinterinstaller.exe runs to set up the printer for the user. Unfortunately, this does not run silently, instead displaying a popup for the user as pictured below:
My testing showed that this occurs on both Windows 10 and Windows 11 (edit 31st July 2024: Microsoft say they have fixed this in Windows 11 but I have not tested this since then). Each printer you deploy gets its own individual popup. So if you are deploying lots of printers, expect to see lots of popups. Combining multiple printers in to a single policy did not reduce the number of popups.
They stay on the screen for between 2 to 20 seconds depending on the device’s resource load. I’ve found that when I’ve misconfigured the deployment settings, the popup stays for up to a minute before exiting (presumably timing out).
In all instances, no user interaction is required. It always closes itself and no messages are displayed on the popup other than the .exe name.
Back in November, Microsoft acknowledged this popup as an issue they are investigating but have not provided any further update. It still does not feature on the Universal Print known issues list.
Ever wondered how how you could require Admin consent for Azure AD Registering devices?
In Azure Active Directory any user can, by default, register a Windows device with Azure AD. This gives the device an identity and enables Single Sign-On. This makes it a great option for Bring Your Own Device scenarios. But BYOD should not mean a free for all on which devices a user can join to your environment.
AAD Register Approver is an Azure Logic App that disables any Windows Azure AD registered devices until an Administrator approves them.
Disclaimer: This is a Proof of Concept. I offer no warranty, support or guarantees of any kind for this App. You can use it at your own risk. You are free to make any changes to it that you require. Just be sure to check everything in a test environment before going to production!
Logic App Flow
User Azure AD registers a Windows device.
App disables the Azure AD object for the new device and sets extensionAttribute1 to ‘Pending Approval’.
App emails user notifying them that device approval is pending.
App emails Administrator requesting approval.
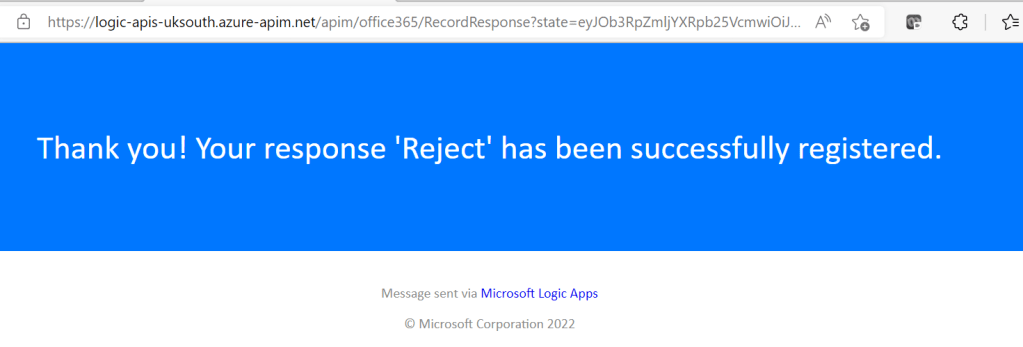
Administrator approves or rejects the device using one time use buttons in that email.
If approved, the App enables the Azure AD object for the device and sets extensionAttribute1 to ‘Approved’. The user is emailed notifying that the device is approved.
If rejected, the App leaves the Azure AD object disabled and sets extensionAttribute1 to ‘Rejected’. It also emails the user notifying that the device was blocked.
Pre-Requisites
Office365 mail enabled service account for sending approval emails.
Application Administrator role in Azure.
Privileged Role Administrator role in Azure AD.
Implement AAD Register Approver
Prepare The Tenant
It is necessary to set the extensionAttribute1 for all legacy devices prior to implementing the Logic App. Failure to do this will result in all Windows AAD Registered devices being immediately disabled and approval emails being sent.
Open a Powershell console and run the command:
Install-Module Microsoft.Graph
Connect to MS Graph. Accept the permissions but do not grant admin consent for the organisation:
Optionally, delete the Enterprise Application Microsoft Graph Powershell. Before deleting, make sure that no one else is using it by checking:
a) the instance you are deleting is the one created on the date that you first ran the Powershell commands
b) that only your user account has the permissions applied to it.
App Registration
An App Registration is required to expose Graph API for the Logic App to use.
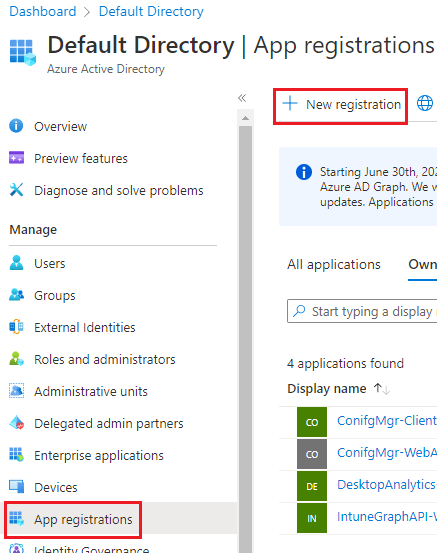
In Azure AD > App Registrations > New Registration
Enter the Name AAD Register Approver > Leave everything else as it is and select Register.
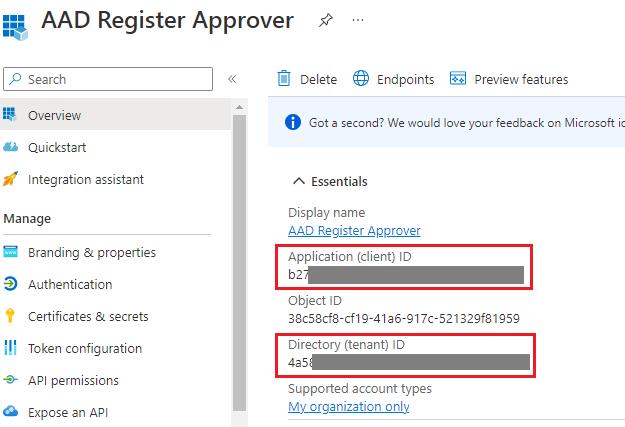
On the Overview tab, make a note of the following fields
Application (client) ID
Directory (tenant) ID
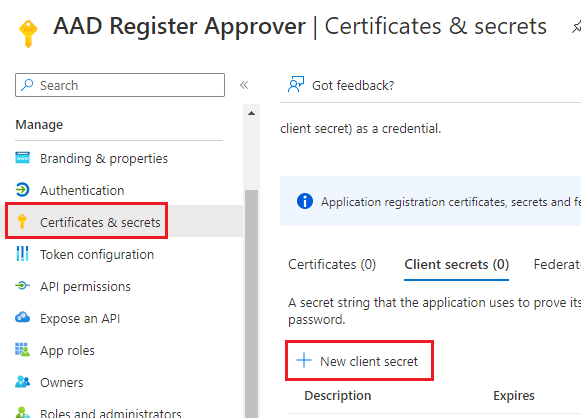
On the left, select Certificates & secrets > New client secret.
Enter a Description and set the expiry as required > Select Add
Make a note of the Value of the secret key
Note: Once you navigate away from this screen you cannot retrieve the key’s value in the portal.
Lastly, we need to assign the Cloud Device Administrator role to the Service Principal for the App Registration.
In Azure AD > select Roles and administrators.
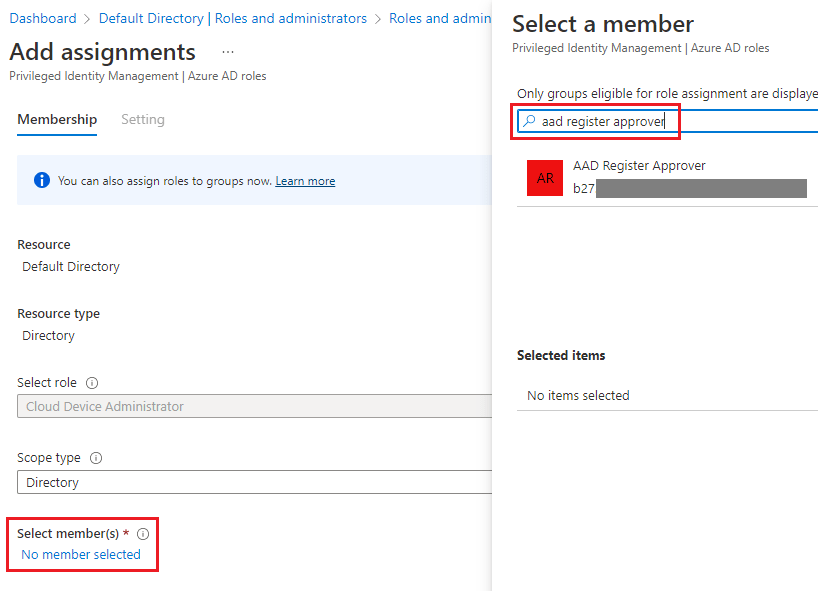
Search for ‘Cloud device’ > select Cloud device administrator
Select Add assignments > Select members > You must enter the name of the App Registration in the search field because it will not appear in the initial scrollable list.
Select AAD Register Approver > Select Next and enter a justification
The service principal is now listed with the Cloud Device Administrator role
Logic App
The Azure Logic App is the key component of AAD Register Approver. It searches for new devices and processes the approval emails. Note: If you need to use a shared mailbox as the sending email address, then after importing the app, open the Designer and change the ‘Send an email’ actions to ‘Send an email from a shared mailbox’ actions.
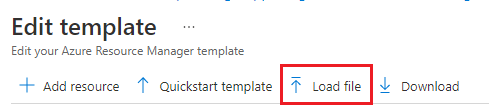
Select Edit template > Load file > Upload the file aadregisterapprover-template.json > Save
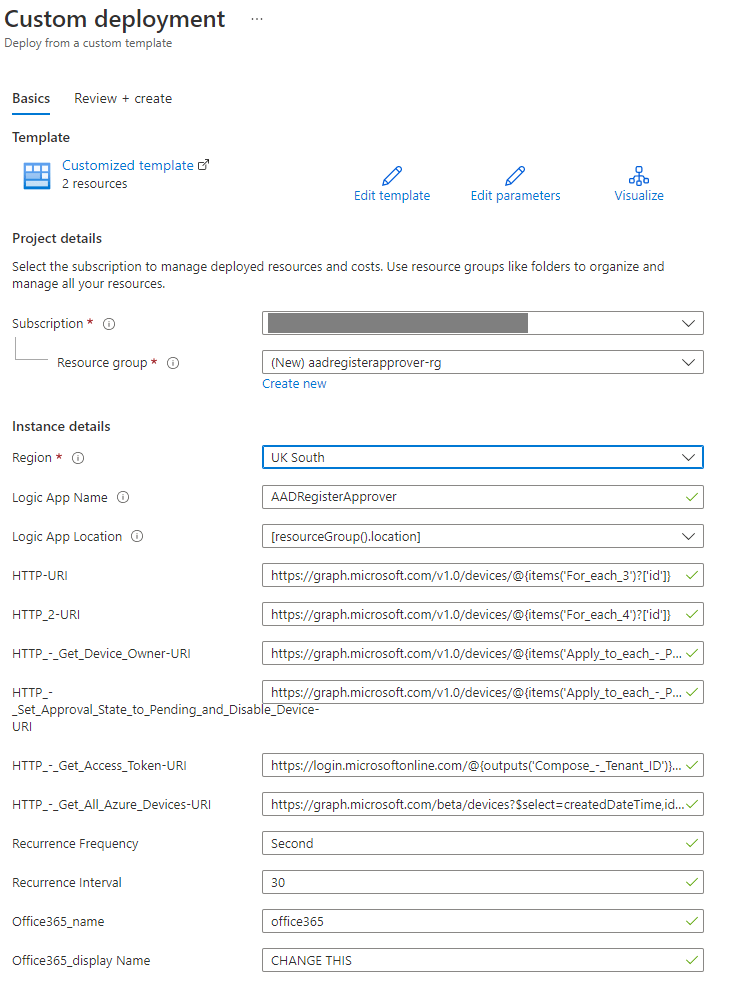
Set the Resource Group and Region as required > Create
In Resouce Group you will see a Logic App and an API Connection
Select the new Logic App > Select Disable at the top to stop it from running while you make changes.
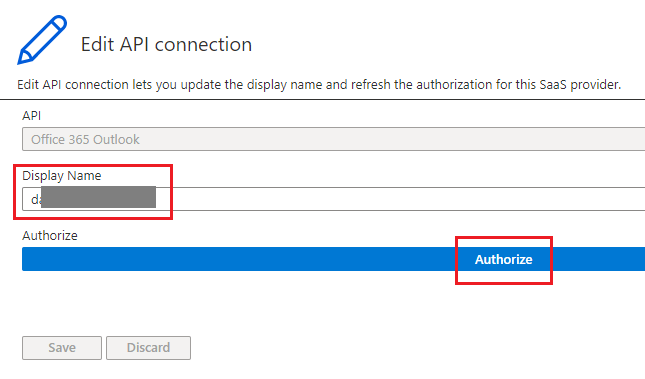
On the left, select API Connections > office365 > Edit API connection
Change the Display Name to the mailbox that will be used to send emails from > Select Authorise > Login with the mailbox > Save
Go back to the Logic App > Overview tab > at the top select Edit
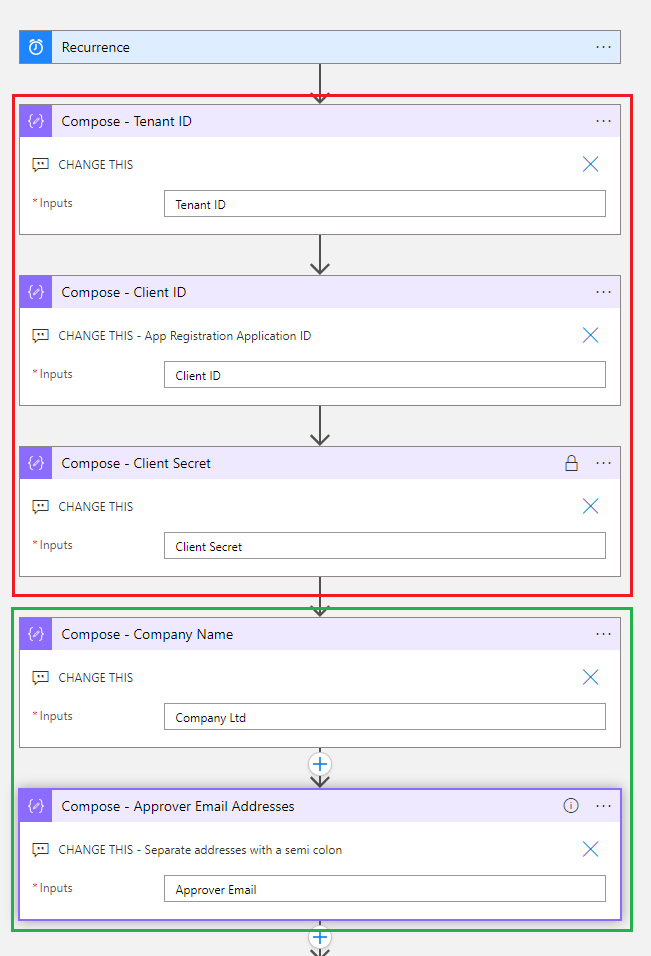
Expand the following Compose actions and populate each one with he equivalent information that was copied during the App Registration steps.
Compose – Tenant ID
Compose – Client ID
Compose – Client Secret
For the below actions, edit as required:
Compose – Company Name
Compose – Approver Email Addresses (these are the mailboxes where approval requests will be sent)
Once finished editing > select Save
Go back to the Logic App’s Overview tab > Select Enable
You can monitor and delve in to the processing of each run in the Run History on the Overview tab
You can check the approval state of a device by selecting it in Azure AD. Look for the Extension Attributes section and you will see extensionAttribute1 is either Pending Approval, Approved or Rejected.
Ideas
Here are some other changes you could make to suit your environment.
Change the interval in the reoccurrence action. Keep in mind that the more often it runs the more it will cost.
Use an Azure Key Vault for storing the Client Secret.
Use Teams channels instead of emails for requesting approvals.
Use Conditional Access to:
Require Multi-Factor Authentication whenever a user tries to Azure AD Register a device.
Block authentication from non-Azure AD registered devices.
Update 7th Feb 2023 - This post was written for an earlier version of Autopilot. The solution in this post does not apply to any versions of Windows 10 that are currently in support.
During Windows AutoPilot in User Driven mode you may see the following error on the Network tab (after Windows has downloaded the AutoPilot profile but before the reboot). It takes about 10-20 minutes for this error to display.
Something went wrong.
Confirm that you are using the correct sign-in information and that your
organisation uses this feature. You can try to do this again or contact
your system administrator with the error code 80004005
Check that the device has a clear line of sight to to a Domain Controller. This is a requirement of User-Driven Autopilot.
But we all know that ‘not supported’ doesn’t always mean ‘doesn’t work’. There are many things in the Microsoft world that start off as not supported but end up being fully fledged features.
Let’s put it to the test;
In Azure, an SCCM primary site server running a PXE enabled DP with a boot image and Windows 10 image task sequence deployed to to the collection ‘All Unknown Computers’.
On premise, a DHCP server with options 66 and 67 configured. An RRAS running a IKEv2 VPN to Azure.
Any/Any is open on the firewalls between the Azure and on prem subnets.
What we get is…
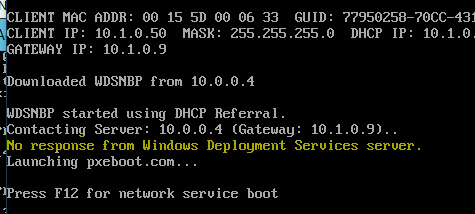
In the screenshot below:
10.1.0.50 – PXE Boot Client
10.1.0.9 – VPN Gateway
10.0.0.4 – WDS (SCCM)
The WDSNBP.com file is downloaded using TFTP. But when it tries to get the boot image file it gets ‘No response from Windows Deployment Services server’.
After this the PXE client switches to download the pxeboot.com boot image which is the wrong image. The PXE session is therefore a failure.
There is no firewall block and clearly some traffic is being responded to by the WDS.
Using netmon we get the below trace from the WDS server
The first image, column 1 is the source IP, column 2 is the destination. We can see that the Request is being received by the WDS server and an ACK packet is being sent back to the PXE client. This is repeated.
Below are the ports the traffic is using. One of them is UDP 68:
So why doesn’t the PXE client think the WDS server is responding?
Below is the netmon from the on premise RRAS server, remember this is the VPN gateway on prem.
It shows the requests being relayed to Azure, but nothing coming back. Something in Azure is blocking this.
You can use TCP, UDP, and ICMP TCP/IP protocols within VNets. Unicast is supported within VNets, with the exception of Dynamic Host Configuration Protocol (DHCP) via Unicast (source port UDP/68 / destination port UDP/67).”
And so there we have it. Azure appears to be actively interfering with UDP port 68 traffic, likely preventing it from being routed down the VPN. So in this scenario, the PXE service needs to be setup on premise.
Only by saying that the PXE service is not a part of the SCCM infrastructure could we, in this scenario, say that SCCM is entirely cloud based.